
Introduction
The 3 way switch wiring diagram power at light setup is one of the most practical and commonly used electrical configurations in residential and commercial spaces. It lets you control a single light fixture from two locations, adding convenience and flexibility. If you’re new to wiring or want to enhance your understanding of this configuration, this guide offers an easy-to-follow, step-by-step explanation.
What Does “Power at Light” Mean in 3 Way Switch Wiring?
In a 3 way switch wiring system, “power at the light” refers to the method where the electrical power source is routed directly to the light fixture before being distributed to the two switches. This configuration is ideal for areas such as staircases, hallways, or large rooms where controlling lights from two locations is essential.
Essential Components of a 3 Way Switch System
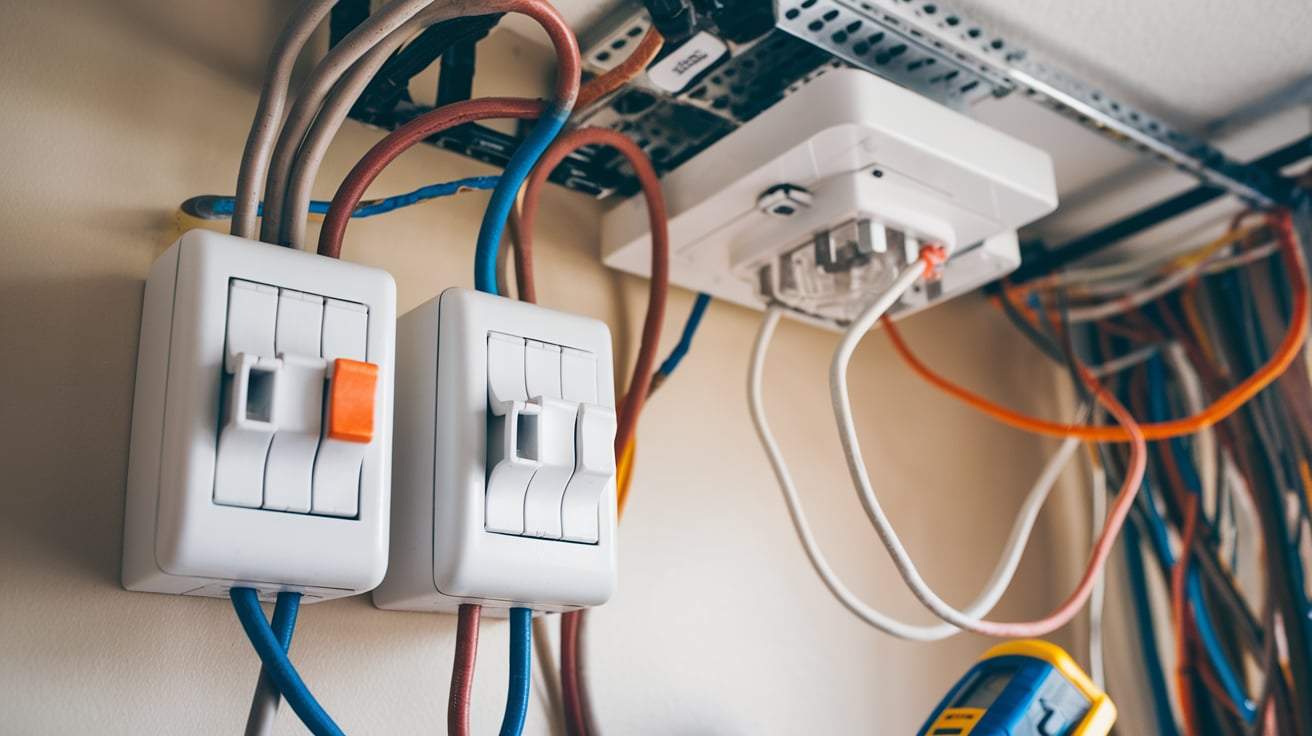
To successfully set up a 3 way switch wiring diagram power at light, you’ll need the following components:
- Light Fixture: The primary element to be controlled.
- Two 3 Way Switches: Each switch has common, traveler, and ground terminals.
- Electrical Wires: These include hot (black), neutral (white), traveller (red), and ground (green or bare).
- Power Source: The electrical connection supplying power to the system.
Why Choose the Power at Light Configuration?
The “power at light” configuration offers several advantages:
- Simplicity: It simplifies the wiring process, especially for beginners.
- Efficiency: Requires fewer cables compared to other configurations.
- Accessibility: Ensures power reaches the light fixture directly, making troubleshooting easier.

Tools and Materials You’ll Need
To execute a 3 way switch wiring diagram power at light, gather these tools and materials:
- Voltage tester
- Screwdrivers
- Wire strippers
- Electrical tape
- Wire nuts
- Light fixture
- Two 3 way switches
- 14/3 or 12/3 electrical cables (depending on your circuit requirements)
Step-by-Step Guide to Wiring
1. Shut Off Power
Safety is paramount. Turn off the circuit breaker supplying power to the light fixture and switches. Double-check with a voltage tester to confirm no current is flowing.
2. Plan Your Wiring Layout
Study a clear 3 way switch wiring diagram power at light to understand how the wires connect between the light fixture and switches.
3. Connect the Power to the Light Fixture
Start by connecting the hot (black) wire from the power source to the light fixture’s terminal.
Connect the neutral (white) wire directly to the light fixture from the power source.
4. Wire the First Switch
Run a 3-wire cable (black, red, and white) from the light fixture to the first switch.
Attach the black wire to the common terminal of the first switch.
Hook up the red and white wires to the traveller terminals.
5. Wire the Second Switch
Extend another 3-wire cable from the first switch to the second switch.
Match the traveller and standard connections to the corresponding terminals on the second switch.
6. Ground the System
Connect the ground wires to the ground terminals on both switches and the light fixture.
7. Test the Circuit
Once all connections are secured, power is restored to the circuit. Test both switches to ensure they control the light properly from either location.
Common Mistakes to Avoid
When setting up a 3 way switch wiring diagram power at light, avoid these common pitfalls:
- Incorrect Connections: Double-check the connections to the traveller and standard terminals. Miswiring can cause the system to malfunction.
- Loose Wires: Loose or unsecured wires can lead to flickering lights or electrical hazards. Use wire nuts to secure connections.
- Overlooking Grounding: Skipping the grounding step compromises safety and increases the risk of electrical shocks.
Troubleshooting Tips
If your 3 way switch system doesn’t work as expected:
- Verify the wiring matches the 3 way switch wiring diagram power at light.
- Check for loose or disconnected wires.
- Inspect the switches for damage and replace them if necessary.
- Ensure the power supply to the circuit is active.
Applications of 3 Way Switch Systems
A 3-way switch system is versatile and can be used in various spaces, including:
- Staircases: Control lights from the top and bottom of the stairs.
- Hallways: Manage lighting at both ends of a long hallway.
- Bedrooms: Switch lights on and off from the door and bedside.
The 3 way switch wiring diagram power at light is particularly useful in these scenarios due to its simplicity and efficiency.

Alternative Wiring Configurations
While the “power at light” setup is popular, other configurations may suit specific needs:
- Power at Switch: The power source connects to one switch first, then to the light fixture and second switch.
- Light Between Switches: The light fixture is positioned between the two switches.
Each configuration has pros and cons, but the “power at light” method remains a favourite because of its straightforward approach.
Advantages of Using a Wiring Diagram
A 3 way switch wiring diagram power at light is invaluable for the following reasons:
- Visual Clarity: Provides a clear representation of wire connections, minimizing errors.
- Step-by-Step Guidance: Ensures you follow the correct order of connections.
- Troubleshooting Aid: Helps identify and fix issues quickly.
Safety Precautions
- Always de-energize the circuit by switching off the power supply before initiating a wiring project.
- To minimize risk, employ insulated tools and don rubber-insulated gloves.
- Label wires during disconnection to avoid confusion during reconnection.
- In case of uncertainty, seek guidance from a qualified, licensed electrician.
Energy Efficiency and 3 Way Switch Systems
Using a 3 way switch wiring diagram power at light configuration can contribute to energy efficiency in your home or office. By strategically placing switches in convenient locations, you can ensure lights are turned off when not needed, reducing unnecessary energy consumption. This setup is particularly beneficial in larger spaces like hallways and staircases, where lights can be controlled from multiple points without leaving them on unnecessarily.
Future-Proofing Your Electrical System
As technology evolves, incorporating a 3 way switch wiring diagram power at light system can future-proof your home’s electrical layout. Modern smart switches are compatible with traditional wiring setups, allowing you to upgrade to intelligent lighting systems without significant rewiring. Investing in this versatile wiring method prepares your home for future technological advancements while maintaining a functional and reliable lighting system today.
Conclusion
Mastering the 3 way switch wiring diagram power at light is an essential skill for anyone interested in electrical work. This configuration not only offers convenience but also enhances the functionality of your lighting system. Following the steps outlined in this guide and adhering to safety precautions, you can confidently install and troubleshoot this setup. Remember, when tackling electrical projects, a clear wiring diagram is your best friend.
FAQs
1. What is a 3 way switch wiring diagram power at light?
It’s a wiring configuration where the power source connects directly to the light fixture before reaching the switches, allowing control from two locations.
2. Can I install this wiring myself?
Yes, with basic electrical knowledge and the right tools, you can install this system by following a wiring diagram.
3. What tools do I need for this wiring setup?
You’ll need a voltage tester, screwdrivers, wire strippers, electrical tape, wire nuts, and appropriate cables.
4. What are the traveller wires for?
Traveller wires connect the two switches, enabling them to work together to control the light.
5. How do I troubleshoot a non-functioning 3 way switch system?
Check the wiring connections, ensure the switches are functional, and confirm the power supply is active.